Tuesday, March 19, 2013

5 Fast and Cheap Organizing Tips I Use In Our Home

Thank you so much for stopping by!  I realize that not everyone gets a slight endorphin rush from the word "organizing" like I do, but I hope you find these tips valuable and helpful.  I use these 5 tips in my home and they help me keep things tidy.  If you have kids around, you know how difficult that can be!

Tip 1
Small Laundry Basket At the Bottom Of the Stairs:

This gets used daily in our house.  If you have a 2-story home and a second story laundry room, this is a perfect spot for dirty dish rags, cloth napkins after dinner, random socks; any dirty laundry that accumulates during the day and you want a quick spot to place it with-out running to the hamper in the bedroom.  If you have kids, than you have laundry that magically appears out of no where.  Seriously!  This would also work perfectly for toys, books, or any other random item that needs to go upstairs and you don't feel like burning the calories taking the time to go upstairs.  When I was growing up, my Mom kept a bucket (same concept) under the kitchen sinks that she put dirty rags in and come laundry day, she would empty the bucket.  I bought this little square basket at a garage sale and spray painted it teal (I love this color right now).  Before I found it, I was using a dollar store basket.

Tip 2
Hooks:

Install hooks on the back of your doors.  We have hooks on the back of the garage door, and in both upstairs bathrooms.  Hooks help keep stuff off of the floor or from piling on other furniture.  You can hang backpacks, hats, towels, bath robes, etc...... on them.  They are inexpensive and quickly installed.  You can also find them in any finish.

Tip 3
The Squirmy Sleeper and Safety Pins


My husband was still doing this on his bed when I met him in his mid-twenties.  To keep his sheets from getting disheveled while sleeping, AND to make "making the bed" quick and easy, my Mother in law safety pinned my husband's top sheet to his blanket.  If you have kids than you know how they squirm in the middle of the night and you frequently find the top sheet at the bottom of the bed.  This solves that problem and makes putting the bed back together simple.  To make the bed, you just pull the pinned sheet/blanket to the top and done!  I have yet to find a pin "unpinned" after many years.  After all, most of us wore cloth diapers and had these things on us for a few years.  With that said, if you are putting this on a child's bed, you should do everything to ensure that they don't play with the pins.

Tip 4
IKEA Pot Rack Organizer

I fought lids for 10 years until I found this gadget.  I think I paid $5.99 max!  It works like a charm and no more dropping or searching for lids when I make dinner.  Simple and cheap! It holds 6 lids.

Tip 5
Store DVD's in a CD Case

DVD's and their cases tend to take up a lot of room on the shelf, I would personally rather look at books on a shelf than movies.  For us, this project was free because I had an extra case on hand.  I would encourage you to look at Goodwill before buying one brand new.  It takes up very little space and its easy to transport.  I put the cases away, and out of sight, for movies I think we might get rid of in the future.  Otherwise, recycle the cases and save on space.

I hope you enjoyed these tips and if you decide to try one, let me know!!!

Many blessings to you,
Home Centered Girl

Monday, March 18, 2013

Link Up Parties

So I'm learning a lot about link up parties.  I think this is how many people grow their blogs??????  Today I linked up at Tater Tots and Jello .  There were many awesome ideas.  Kind of like pinterest all on one page.

Wednesday, March 13, 2013

Dollar Store Organization - The Glove Box

Hi Everyone!

I was roaming the web and saw this idea and thought it was great.  My husband who is a mechanic by trade also really liked this idea because he has to get into peoples glove boxes from time to time to retrieve keys  (wheel lock keys?????) and often finds a mess.  So, here is a quick organization project to clean up your glove box (or jockey box as my family calls it) and also supply some very important emergency information.

So, here's what I started with:


I thought I was doing pretty well considering the papers were not just stuffed in the glove box.

Here is what I created:


How to do it:

I purchased two poly-coupon organizers at the local dollar store, one for each vehicle.  There are five pockets inside with the following labels:

Insurance: self explanatory

Registration: also self explanatory

Receipts: Currently, I have our latest emissions report in here, I would also put other important auto receipts relating to the car (I don't have many because I'm married to a mechanic and he does all our car work; I know, I'm very fortunate).

Passengers: In this section, I have listed all the names of my family and our date of births on a 3x5 note card, just in case we were in an accident and someone was knocked unconscious and couldn't communicate.

Emergency Contacts: This section also contains a 3x5 card with names and telephone numbers of who to call in the event of an emergency.


I made a label, with red ink, for the front that reads: "Auto & Emergency Contact Information" in big letters so that hopefully it is obvious if someone other than myself needs info out of the glove box.

You could also say.......... that it would make things a little easier if you just so happened to get pulled over for speeding or texting (okay, you know you deserve it if you're texting and driving).  A little less sorting through a mess to find what you need.

There it is, a simple and CHEAP organizing project.


Many blessings to you!  Home Centered Girl.

p.s. you can also see this project and many other fun ones over at Not Just A Housewife (click here)

Tuesday, March 5, 2013

DIY Mason Jar Soap Dispenser

Hello!  Today I'm going to give you a tutorial on making a mason jar soap dispenser.  Well, this idea is definitely not original, I've seen it on a few places over blog land, but I really like that it has a "home-made" unique look.  The best part for me was that the total cost was FREE!  I just used supplies I had around the house.  Here is what you need to make this one:

-canning jar
-canning ring (screws on the outside of the jar to hold lid on)
-canning lid
-pump (I used one from an old lotion bottle)
-hot glue gun
-spray paint
-something to make a hole in the canning lid (Mr. Home Centered drilled a hole in the middle and then used metal shears to expand it so that the pump would fit inside).
-scrap book paper
-something to water proof the scrap book paper

The Process:
First I spray painted the pump and canning ring with a black glossy spray paint.  Yes, the spray paint had a little hard time sticking to the plastic pump.  This is my one lesson learned in this process.  Ideally, you want to use a pump that is already the color you want for the dispenser.  I will be keeping my eye out for a black pump.  For now, the spray paint and touch up black marker are working for me.

Next, I had my husband drill a hole in the lid and then expand it with shears so that the pump could fit inside.  CAUTION: you should protect your eyes with safety glasses if you are using a drill, and be careful with your hands.  This process creates some sharp metal edges.
And, yep; he's a total Keeper!

Next, use the canning lid as a template and cut the scrap book paper to fit.  To water proof it, I used my laminator.  If you don't have a laminator, you could whip up a home made modge podge mixture using Elmer's glue and water; paint the paper with the mixture (front and back) and let it dry.  If you're an artist, you might have some gel medium laying around which would have the same effect.  Or, the local printing store would water proof this tiny piece of paper for less than a dollar.  It is going to get wet when you wash your hands, so you want to protect it.  Another idea would be to use some kind of plastic film for the top.  An overhead projector sheet would do the trick.  Just be creative.  You can probably find a solution  in your home somewhere.
****** you could skip this step entirely by just spray painting the lid as well******* 

Now you need to attach the pump to the lid.  I used a large "blob" (technical term) of hot glue.

Now you assemble!


Pretty simple huh?  What do you think; would you make one in your own home?

Thursday, February 28, 2013

Reusable Daily List - Mounted to the Fridge

Hello Readers,

It's been a little longer than I like in between posts.  What can I say, life is busy for everyone. :)  Today I wanted to share with you an idea I got off of another blog I love iheartorganizing.blogspot.com.  The writer, Jen, made a Daily Duties Check-Off List click here that she attached to her fridge.  I loved her idea and created one of my own.  Here's the project:


What it is:
A framed check-off list of daily, weekly, bi-monthly, quarterly, and bi-annual duties that's attached to the fridge.  I use wet erase markers to check off items and erase/re-use the next day.

If you love to make lists (or need to in order to remember things).  You might really love this idea.  It's also an answer to constant sticky notes or random lists on the kitchen counter. Instead of using paper, you use wet erase markers on the glass of the frame.

How I made it:
I used a 10 x 13 frame I purchased at a garage sale (I think I spent $1); it had a mat inside of it.  I actually used the mat (which I painted yellow) for a while, but now I have a regular 8 x 11 sheet of paper (the check off list) mounted on a piece of scrapbook paper and cut to fit the frame.

Next came attaching it to the fridge.  I used 3M removable hanging strips that I attached to the back of the frame and fridge.  These are supposed to come off the fridge without damaging it and the ones I purchased hold around 10 pounds.  I found these strips at Joann Fabrics. 

I made a list (in Excel) that has check off boxes with the following categories:

Daily Duties: making the bed, cleaning the kitchen, sweeping the floor, defrosting dinner, blank lines so that I can add things to remember (phone calls, etc...).  It's a daily list of things I like to complete in order to feed my OCD method and order cravings.  I also have a section where I record due dates for library books from the local public library and church library.

Weekly Duties: This includes vacuuming upstairs, wiping down bathroom counters, cleaning toilets, laundry, anything I do about once a week.  In the summer, this list includes outdoor activities such as mowing the lawn (hubby's activity), fertilizing plants, and weeding the garden.

Bi-Monthly Duties: This list includes: mopping the floors, thoroughly cleaning the bathrooms, making my grocery menu, cleaning out the fridge, clean out the microwave, washing the sliding glass doors, etc.

Quarterly Duties: This section includes dusting the top of the fridge and ceiling fan,  vacuuming the inside of the couch (my husband is rather particular about this, he says that he had a "bad experience" whatever that means :)), and laundering the bathroom rug.

Bi-Annual Duties: this includes changing the furnace and fridge filters, cleaning out the garage, and sorting through all of our clothes.


On the list itself:
Each item has a box to be checked off and I recommend you use a wet erase marker.  Dry erase markers work, but they don't have a fine point.  I purchased my wet erase markers at a local office supply store.  You know, those markers your teacher used on the old school projectors in primary school and then wiped off with a wet rag.

FEATURE!!!  I'm so excited to show you the version one of my best friends, a fellow God Fearing OCD Creative, made of this project.  You know all those pops of aqua and chartreuse green that are popping up all over home decor.  My friend, "Lizard" (that's her nickname, but she's actually a gorgeous blond), used this project as an opportunity to introduce those colors to her kitchen.  She transformed a goodwill frame with a little paint and used the same method (3M strips) to mount it to the side of her fridge.  Check it out (see the aqua coming through under the green):


This chick is so creative around her house.  I'll be begging to feature some of her other DIY projects.  She has the best ideas and vision when it comes to art and creative projects.

So what do you think?  If the exhaustive list is not for you, I think the frame could be filled with blank paper instead and could still be used as a place to list out items/duties you need to remember to complete on any given day.  Maybe even a sheet of paper with ten lines numbered 1., 2., 3.,.......  You could say its a green approach for the compulsive list maker.

Leave me a comment if you liked this post or think you'll attempt a similar project.  If you would like me to email you a copy of the list I created in Excel for you to use at home, leave me a comment or message me on Facebook.

So here it is again:


God bless you!  Home Centered Girl
 

Saturday, February 23, 2013

Happy Birthday Chicki and Chicken Pot Pie

Hi Everyone!  Last night we celebrated my sister Chicki's birthday.  Here she is:


I know, she is a gorgeous blond and this little beauty requested chicken pot pie for her birthday dinner so I thought I would share my broth based chicken pot pie recipe with you.  This dish will feed many mouths.  We had a total of 14 people (adults and kids) and this dish was enough for everyone with a little left over.  It's simple, but a little time consuming.  I think it's worth cutting up all the veggies for a real home cooked taste and treat that I don't make very often.  I prefer the broth base to cream for better flavor and its healthier without all the cream.

Here is what you need:


-2 large carrots, diced
-3 stalks celery, diced
-1/2 onion, chopped
-1/2 box of mushrooms (about 6 mushrooms) finely chopped
-1 TBSP olive oil
-3 cloves of garlic; minced
-1 large potato; diced
-4 C. chicken broth/stock
-1 C. water
-2 tsp. better than bouillon chicken base (or 2 cubes of regular chicken bouillon) ((this step is optional; makes it a little richer when using stock))
-3 C. shredded chicken (I used a rotisserie chicken from the store to save time)
-salt and pepper to taste
-1 tsp. dried parsley
-1/2 C. half n half
-2 TBSP flour

Crust:
2 C. flour
1 tsp.salt
1/3 C. canola oil
6-8 TBSP ice water

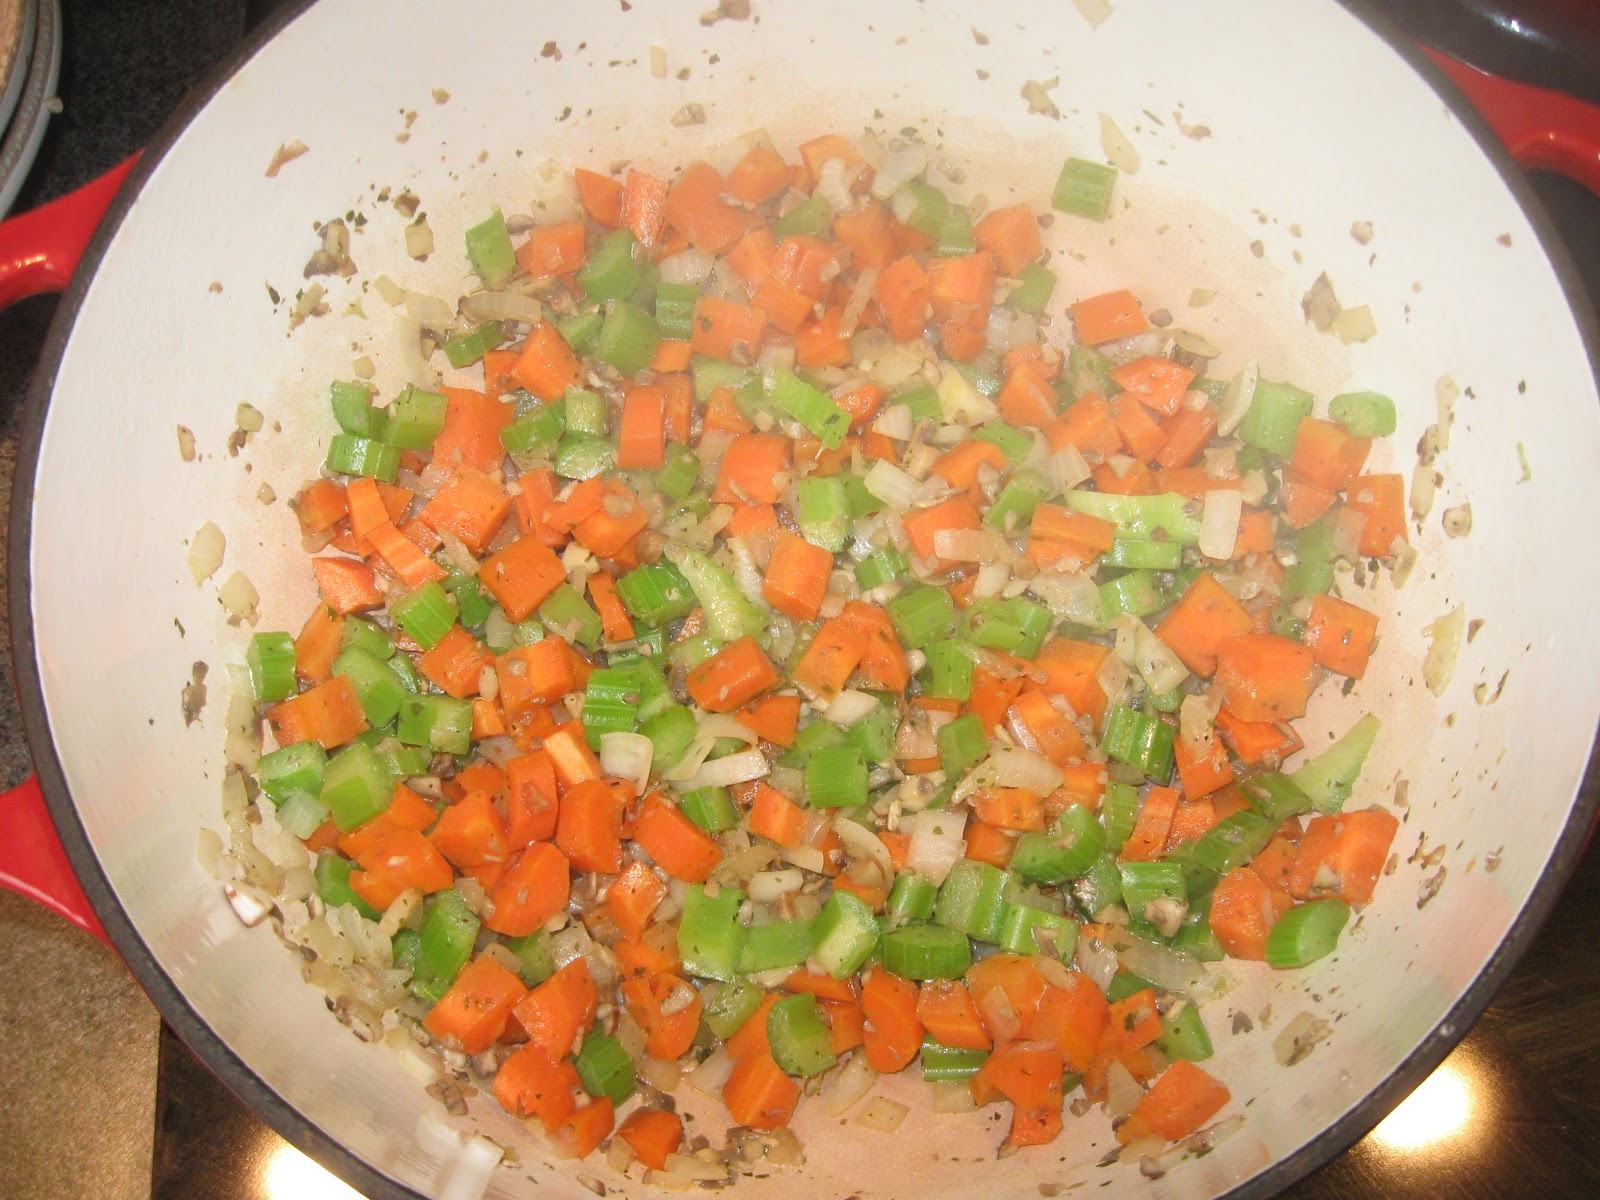
For the pot pie filling: saute carrot, celery, onion, and mushrooms for 6-8 minutes in olive oil in a large pot.  Add salt and pepper to taste, and parsley.


When veggies start to brown add the minced garlic and saute until fragrant (about 1 minute).  Immediately add 1 C. of water to pan to loosen all the brown bits from the bottom and keep the garlic from burning.  Next add potato, chicken broth, better than bouillon, and chicken.  Allow to simmer for 20 minutes.  At this point, try the mixture and season with more salt if needed.  Next, mix half and half in a small bowl with flour.  Once well mixed, add to chicken mixture to thicken the broth (about 2 minutes).

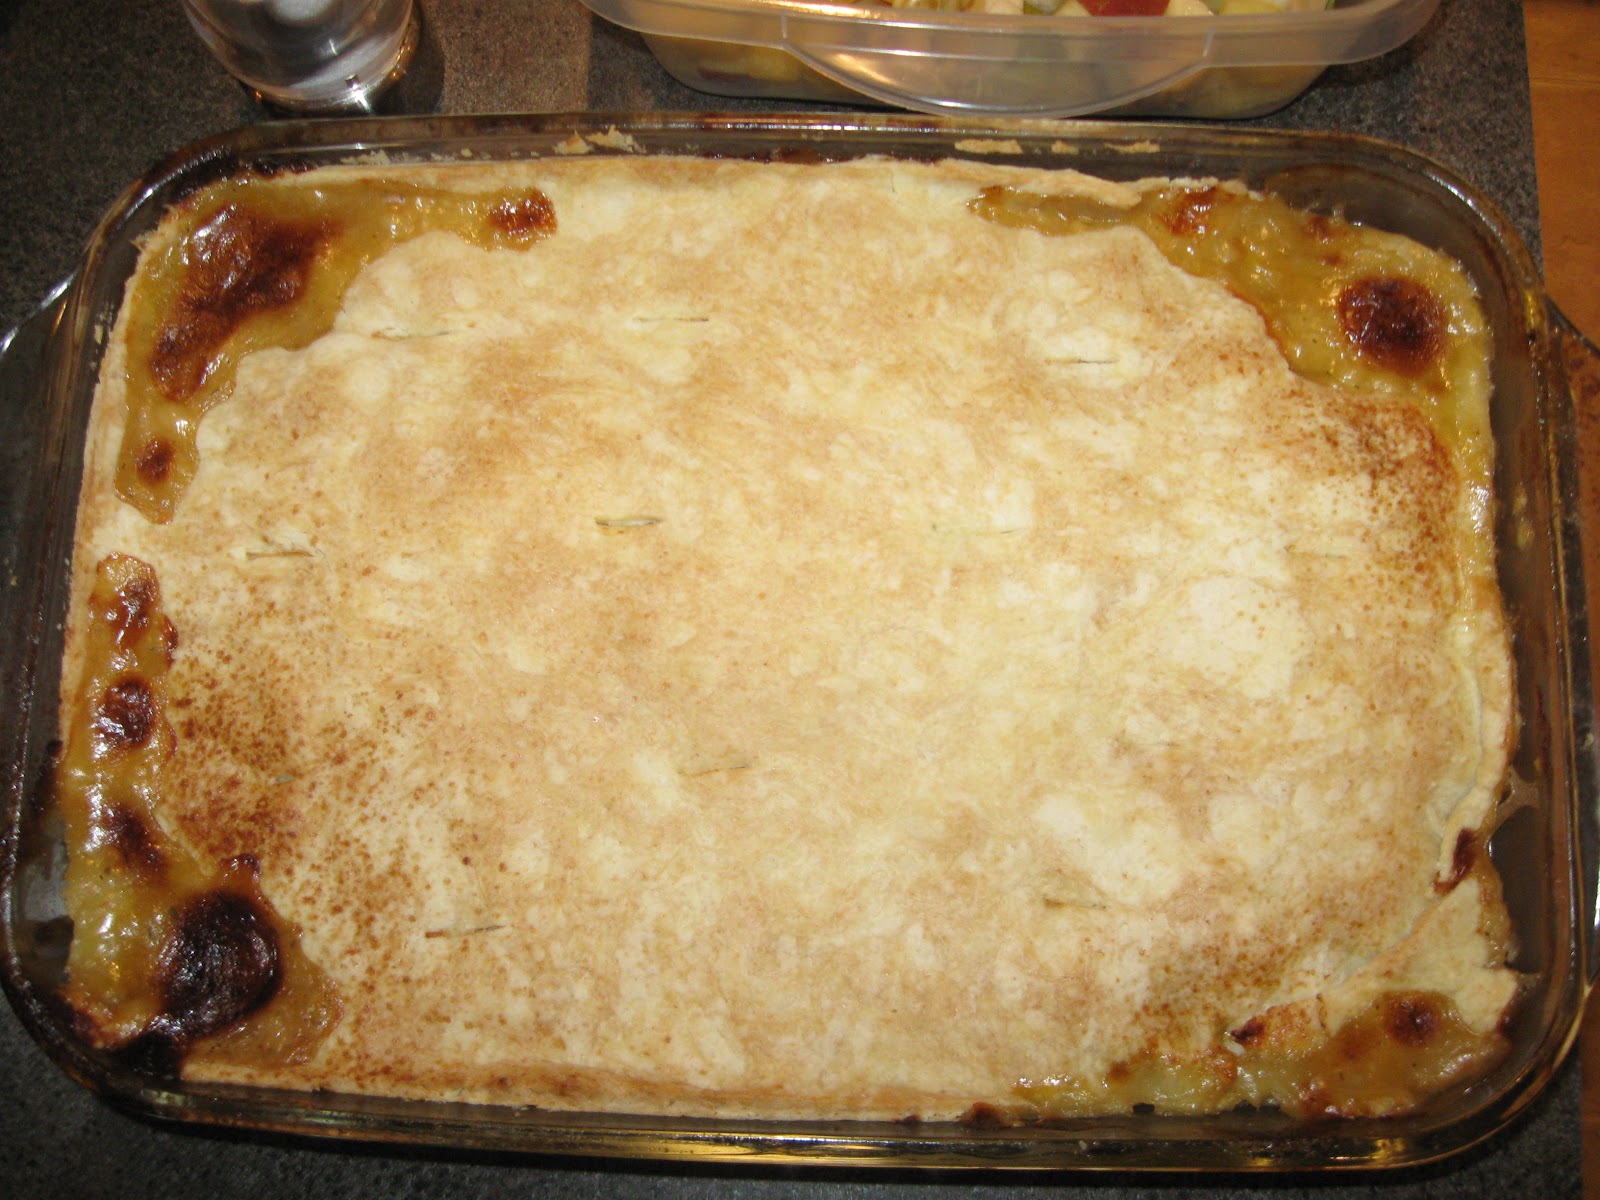
Empty entire contents into a 9 x 13 glass casserole dish and top with crust.

For Crust:
This crust is very similar to one I found on For The Love Of Cooking Check out this link for her crust that is on a beef pot pie (one of my favorites).

For the crust, mix flour and salt well together with a wisk.  Next add canola oil and mix with a fork until mixture resembles small peas.  Then add ice water 1 TBSP at a time until crust comes together and forms a dough.  Put the dough between two pieces of wax paper and roll out into a rectangle to cover the 9 x 13 dish.  Once the crust is on the pot pie filling, cut small slits in top of the crust for the filling to bubble over.


(tip: after cutting the excess of the crust off the casserole dish, sprinkle with cinnamon sugar and bake for about 15 minutes for a delicious "pre-dinner" treat.)

Bake at 375 for about 40 minutes or until brown and bubbly.  Check the casserole periodically to make sure the crust isn't burning.


Dish out and enjoy!

Love you Chicki and I hope you enjoyed your birthday dinner!

Many blessings to all of you - Home Centered Girl.


Wednesday, February 20, 2013

Menu Planning and Templates

Hello Readers,

I mentioned back when I gave a tutorial on creating a Household Management Binder that I would write about how I menu plan in a future post, well; here it is!

I have been menu planning prior to grocery shopping since I married "Mr. Home Centered" 10 years ago and its one of my favorite oranizational tools.  It is also a way to control spending at the grocery store and helps solve the "whats for dinner" dilemna.  I'm going to show you how I do this twice a month and then offer you my blank templates for your own personal use. 

(disclaimer: it has become very apparent to me that I need to upgrade my camera, hopefully you can get the idea from these pictures)

So here is how I do this:
I use two forms.  First, I make a menu using the following template:


You will notice that I have not included spaces for breakfast.  We pretty much eat the same things around here for breakfast: cereal, oatmeal, yogurt, toast, etc.. and I don't need to write it down to remember to put it on my grocery list.  I have used a handful of different methods for the same task (calenders, etc..), but I like this format because it is specifically tailored to my families needs.  In the morning (if I'm on top of things) I decide what I'm going to make for dinner (using my template above) and pull meat out of the freezer to defrost.  The list hangs in my pantry on a clip board.

  I don't make the items in any particular order, its totally up to what I feel like that day and how much time I have.  I always have a few quick and easy meals on the menu for the days I want to just pull something premade out of the freezer and put it directly in the oven (this is usually junk/processed yummy comfort food).

Now, to make the list I reference this template (bad picture alert):


This is a list of meals I often like to make.  It doesn't include everything I cook, but it's a great quick quide to help me make my menu.  This helps me avoid sorting through multiple recipes in my cook books, recipe car box, and recipe binder.  I printed it out on card stock and filed it in my recipe binder for quick reference.

I have a VERY IMPORTANT TIP regarding menu planning if you are just getting started or find this method too tasking.  Make the menu when you are hungry.  Seriously, get up in the morning and skip breakfast, your snack, whatever, until its done.  It's very difficult to make a menu for two weeks when your are not hungry and nothing sounds good.

Once you have the menu, make your grocery list off the menu.  This is where you can save money, or avoid going to the grocery store every other day.

Now, if you would like these templates I am more than happy to give them to you for your own personal use.  For some odd reason, Blogger doesn't have a feature for uploading pdf files and so I am going to have to figure out a way around this (long story).  For now, if you would like these templates; you can email me at wellnessheather@gmail.com; leave me a comment on this post with your email address in it; or facebook me and I will email you the files.  I am more than happy to share and would love to give them to you!

If you've never menu planned, try it! 

Monday, February 18, 2013

Recipe: French Fry Lovers and Picky Eaters

Hello Friends,

I mentioned when I first started blogging that I would occasionally post a recipe on here, since eating is a "home centered" activity.  This is one of my favorites.  I love french fries, but they are not the healthiest choice.  Who doesn't love a potato that has been deep fat fried and covered in salt?  I make a version at home that is so simple and delicious, it honestly satisfies that craving for the deep fat fried version. Seriously, try it.  These will pass the test of the pickiest eater.

Here is how I make mine at home (double the recipe if you're serving 5 or more people):

Roasted French Fries
4-5 small-medium russet potatoes (or 2-3 large potatoes)
1 TBSP olive oil
Lawry's seasoning salt (or plain salt)
fresh cracked pepper (optional)
Non-stick cooking spray

Pre-heat oven to 425 degrees

Wash the potatoes (leave skins on) and cut into french fries.  Toss cut fries in a bowl with 1 Tbsp of olive oil and season with salt and pepper in the amounts you like.  Mix the potatoes and seasonings until all the potatoes are coated with a thin layer of oil.

Next, spray a cookie sheet with non-stick cooking spray and add the potatoes to the cookie sheet.

Bake in a hot oven and check at 20 minutes.  Every oven is different so they may need to stay in longer (I have a very hot oven, so your fries may need 30 minutes +).  The thinner the fries, the faster they cook.  You can also leave the fries in longer for a browner and crispier outside.  Serve with ketchup or your favorite dip.  Enjoy!!!
Side Note: This method works great with all potatoes, red, yellow, purple, etc....  For a classic french fry taste, russet potatoes are the best.  If you love garlic french fries, mix raw/fresh minced garlic with parsley and salt in a bowl and toss with the fries immediately after they come out of the oven. Let me know if you try this recipe!!

Many blessings to you! - Home Centered Girl

P.S. I linked up the recipe at "Home Stories A to Z click here for link"